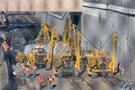
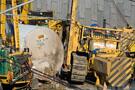
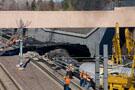
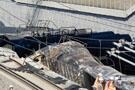
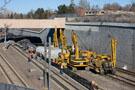
Forgive the "shadows" in this shot. I had to shoot through a chain link fence! The cars from the derailment line the retaining wall separating the tank cars from Light Rail.
Email Questions or Comments to the Webmaster
or add a comment to the picture.
While Main 1 was completely destroyed in the derailment of the sulfur train, both Main 2 and Main 3 suffered some damage throughout the trench.
Email Questions or Comments to the Webmaster
or add a comment to the picture.
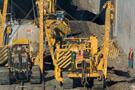
Crews have managed to dig out this tank car, TCIX 16115, and are working on getting it back to Main 2. The tracks from Main 1 have been completely torn apart.
Email Questions or Comments to the Webmaster
or add a comment to the picture.
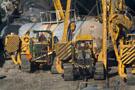
This 300mm shot shows over a dozen tank cars, carrying molten sulfur, that have "accordioned" back and forth across the main tracks in the Littleton trench.
Email Questions or Comments to the Webmaster
or add a comment to the picture.
Cleanup crews don't much care about the damage that might be introduced to the tracks on Main 2 and Main 3 as crews and tractors work to re-rail derailed tank cars.
Email Questions or Comments to the Webmaster
or add a comment to the picture.
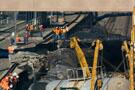
A wider-angle shot of the derailment of the "stinky slinky" in the trench. The derailed cars hit the retaining wall for the Light Rail tracks, disrupting the rail bed and leaving some debris on the tracks.
Email Questions or Comments to the Webmaster
or add a comment to the picture.
Tank cars, tank cars, everywhere! Derailed molten sulfur cars span all three main tracks in the Littleton trench. The train derailed the night before.
Email Questions or Comments to the Webmaster
or add a comment to the picture.
Ouch! A half dozen tractors work to re-rail the 14 remaining derailed tank cars from the Molten Sulfur train.
Email Questions or Comments to the Webmaster
or add a comment to the picture.
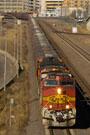
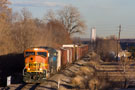
A unit grain train - sometimes referred to as an earthworm - makes its way south toward the Joint Line in late afternoon light. It was very nice to find a warbonnet leading the train.
Email Questions or Comments to the Webmaster
or add a comment to the picture.
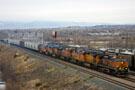
I thought that this was worth posting because it is a sight that is becoming less and less common! SD70MACs used to rule on BNSF coal trains. Now, AC4400CWs, ES44ACs and SD70ACes are on coal trains all the time. I thought it was a nice bonus that both units were wearing the Heritage II scheme.
Email Questions or Comments to the Webmaster
or add a comment to the picture.
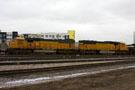
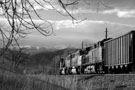
It is a cold, overcast January afternoon as this eastbound Provo-Denver manifest passes by C&S Junction. No shortage of power on this trackage rights train! It breaks down to five C44-9Ws, an ES44DC, and an SD75M.
Email Questions or Comments to the Webmaster
or add a comment to the picture.
Approaching the end of the line, the Beer Run throttles up to make the final climb into the upper yard at Coors. A few cars drive along on 44th Avenue in the distance.
Email Questions or Comments to the Webmaster
or add a comment to the picture.
An SD75M (which unfortunately is no longer wearing the Warbonnet scheme) leads the westbound Beer Run toward the upper yard at Coors. The tracks here run along 44th Avenue and are about to pass underneath Highway 52.
Email Questions or Comments to the Webmaster
or add a comment to the picture.
A few afternoon clouds spill over on the Continental Divide as the Valmont coal load works on spotting cars at the power plant in Boulder. Interestingly, the third unit on the train in a C44-9W, not a unit with AC traction motors! Not too common these days.
Email Questions or Comments to the Webmaster
or add a comment to the picture.
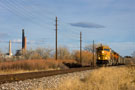
The Valmont coal load makes a reverse move away from the camera to spot a string of cars at the power plant, noted to the left in this shot. Despite the somewhat rural look, this is actually in the middle of Boulder!
Email Questions or Comments to the Webmaster
or add a comment to the picture.